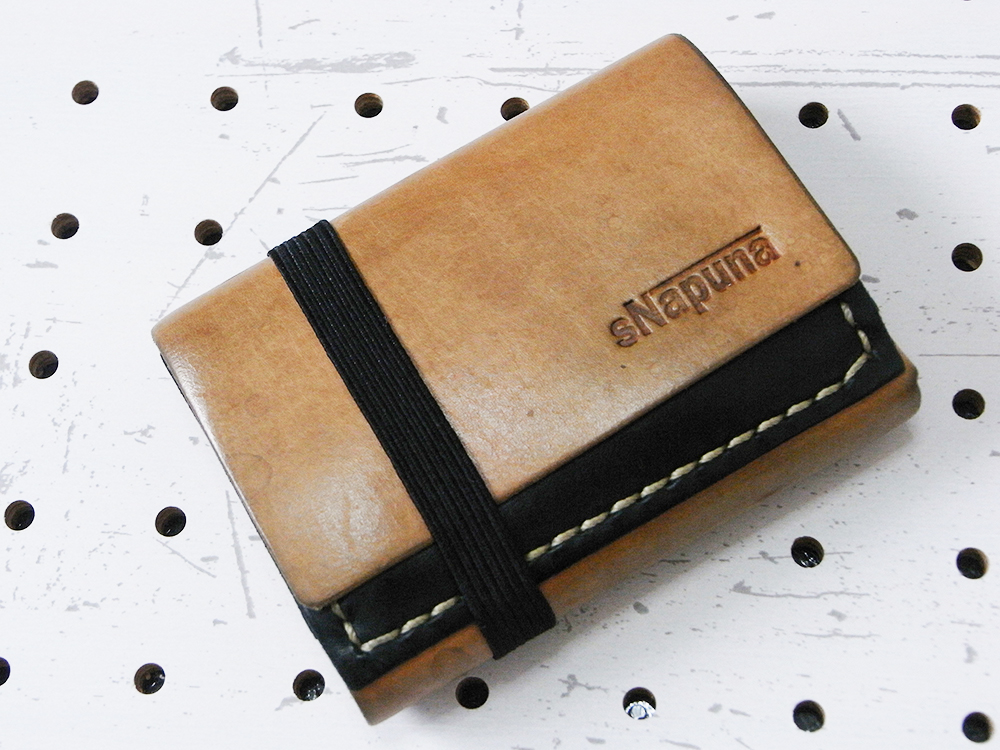
Many of our items come with a flat rubber band.
It gets worn out in a year or two, then eventually it needs to be replaced.
The replacement method of flat rubber band is just as simple as removing the old one and replace it with a new one, but then a question goes “How do I put both ends of the band together?”
Sewing them together is one way, but its degree of force becomes questionable. But no worries, you can put them together seamlessly if you take the following steps!
Use rubber band glue for crimping a flat rubber band
Refer to the images for easy to understand the replacement process.
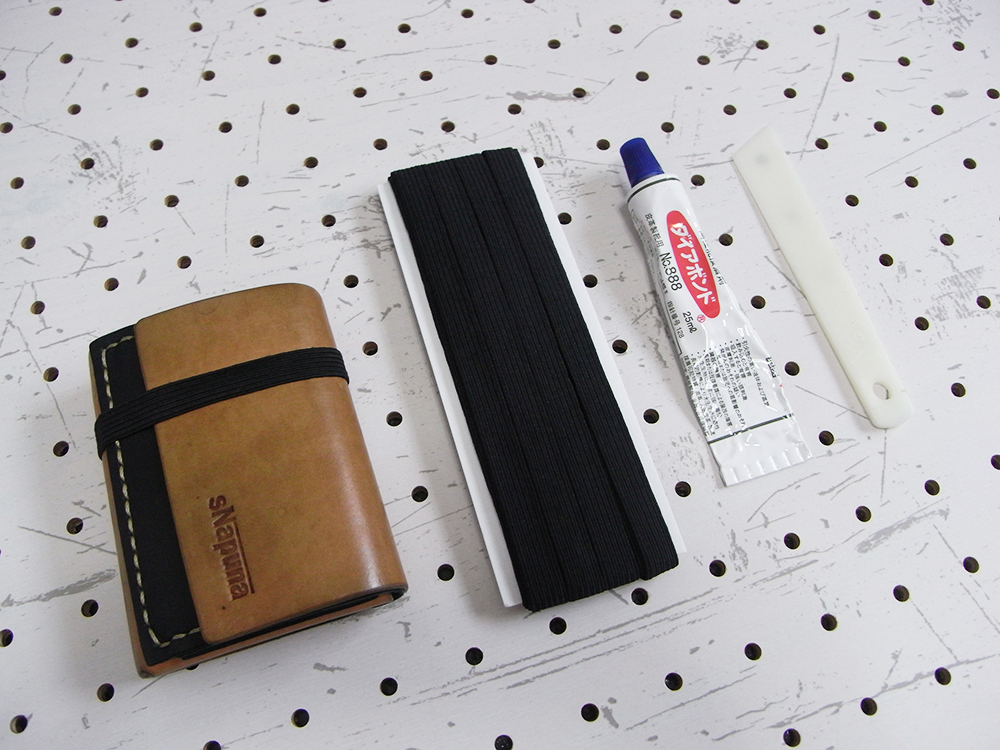
Prepare a flat rubber band, rubber band glue and a paddle for the rubber band glue.
- 12 cord flat rubber band (about 10.5mm wide)
- Rubber band glue
- Paddle
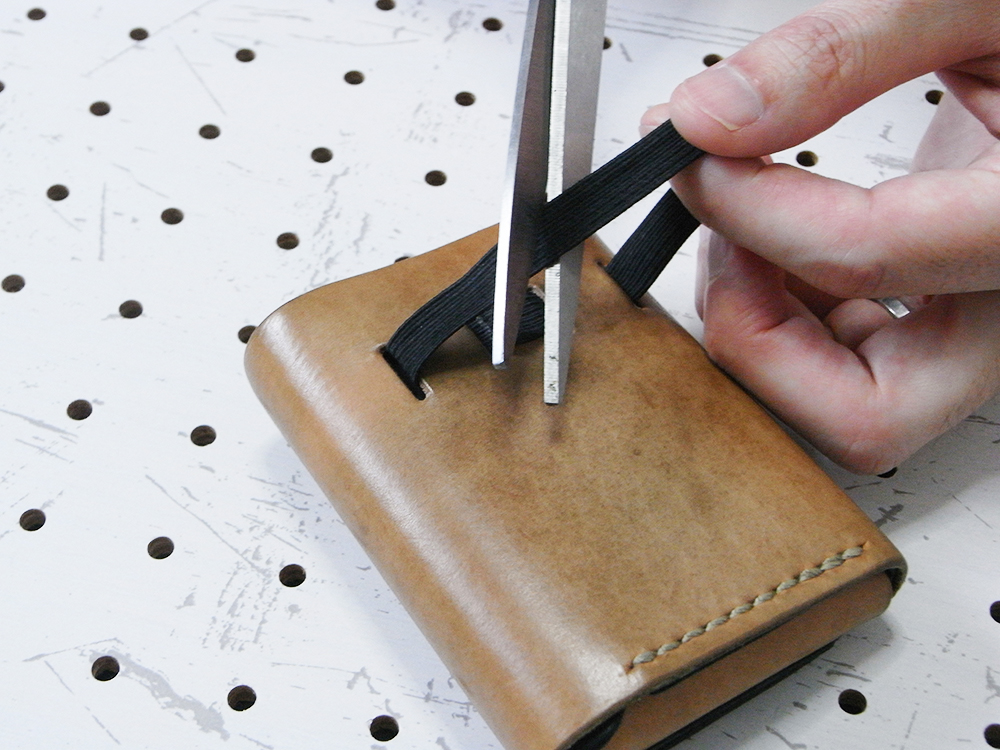
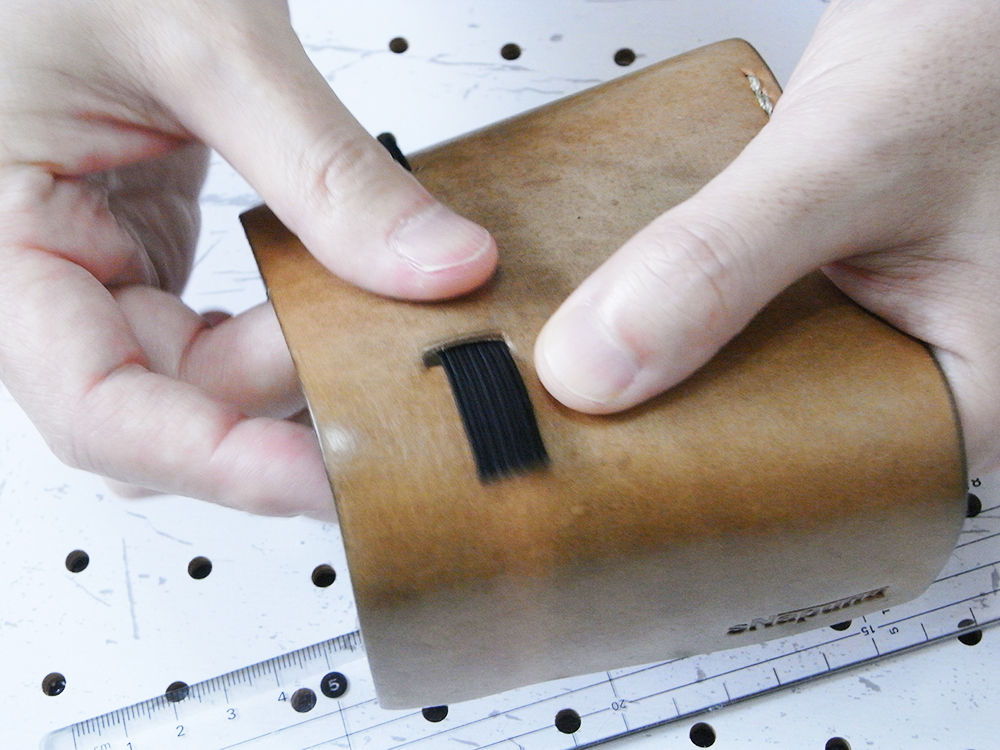
Cut the old flat rubber band. 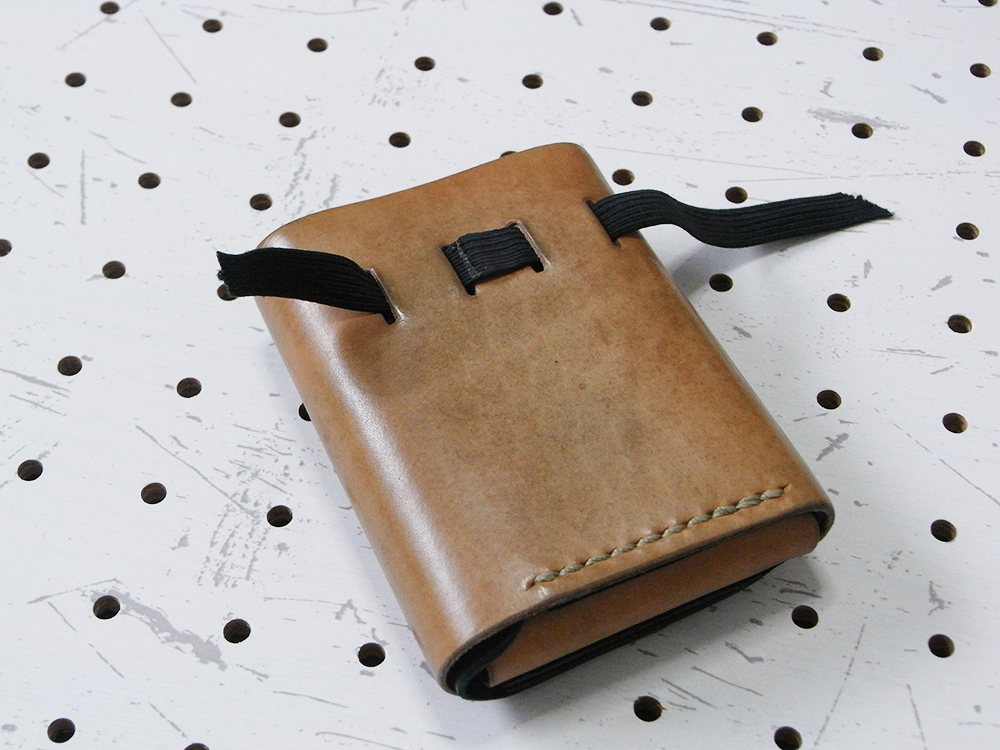
Make sure the leather surface does not get a scratch.
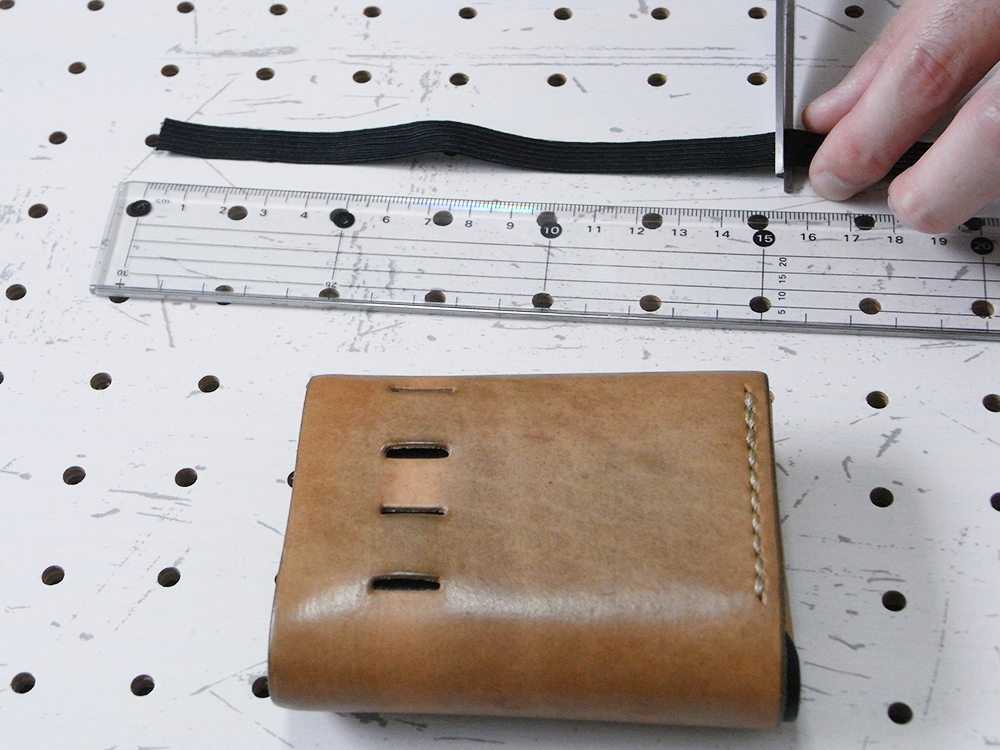
Cut a new flat rubber band vertically. 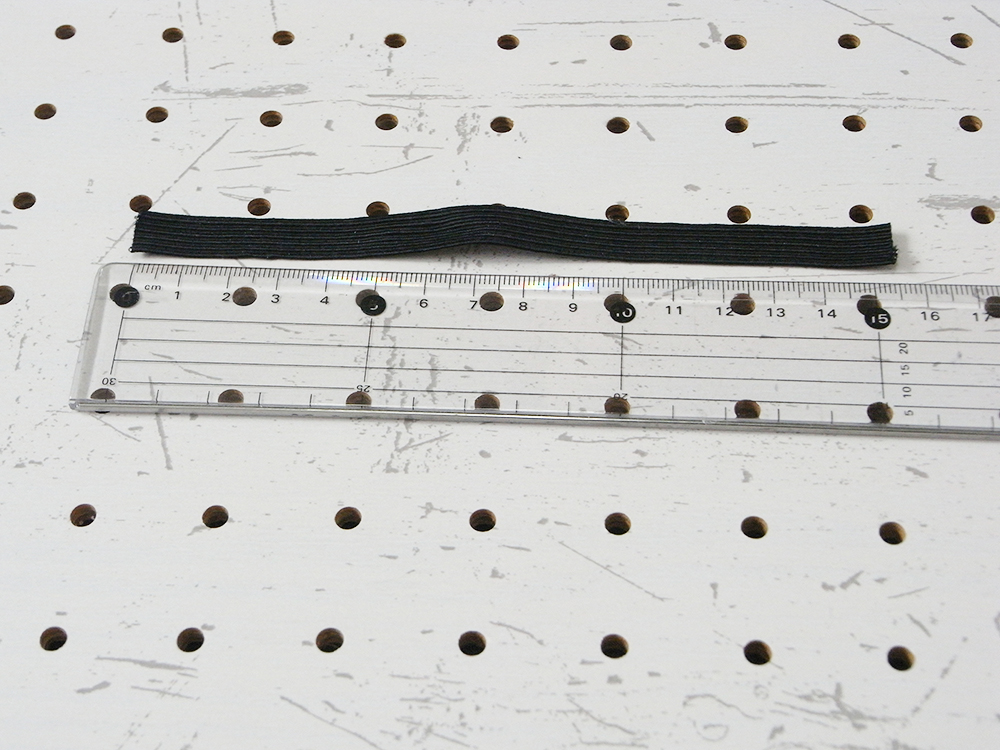
For this wallet, it is cut for 15.5mm long. Set the rubber band length as you like.
As per shown above, cut the old flat rubber band and replace it with a new one.
The band can be of any length, but setting it a bit looser would come out nice.
Set a flat rubber belt just like putting it all back to the way it was. 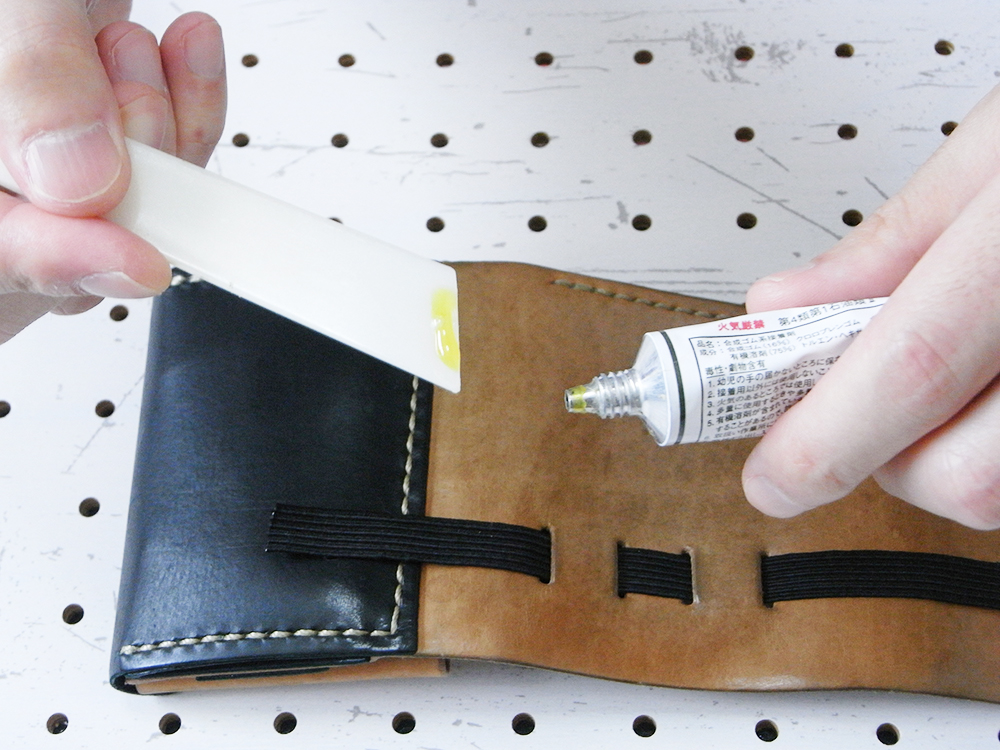
Take the rubber glue on a paddle. A small amount will do.
Apply it over the flat rubber belt to create a thin layer. 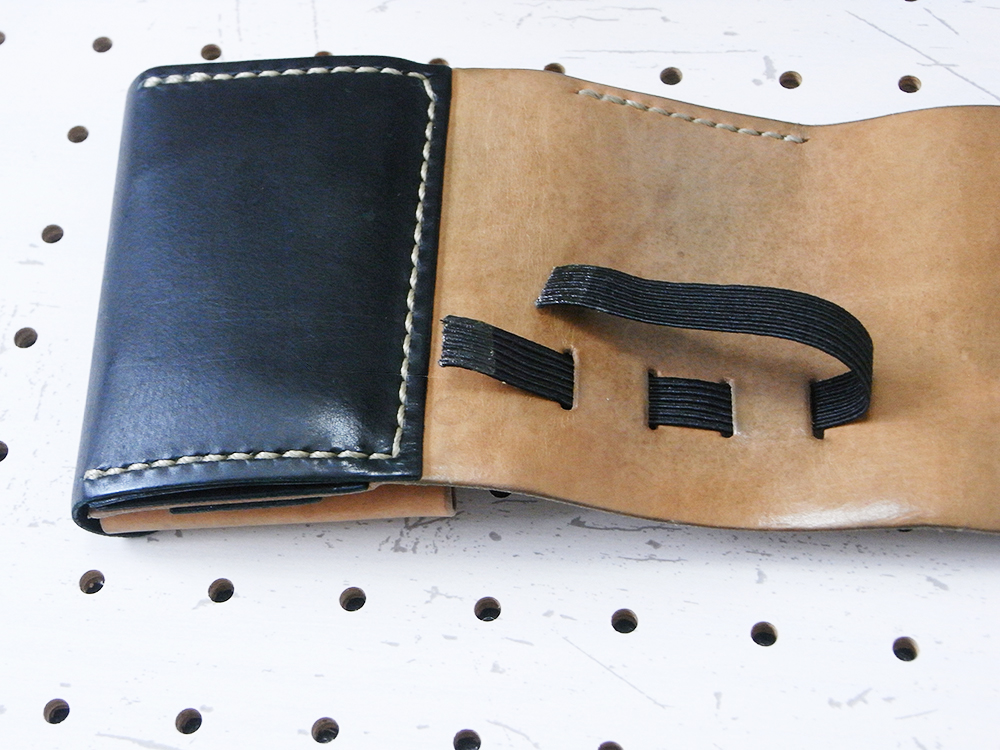
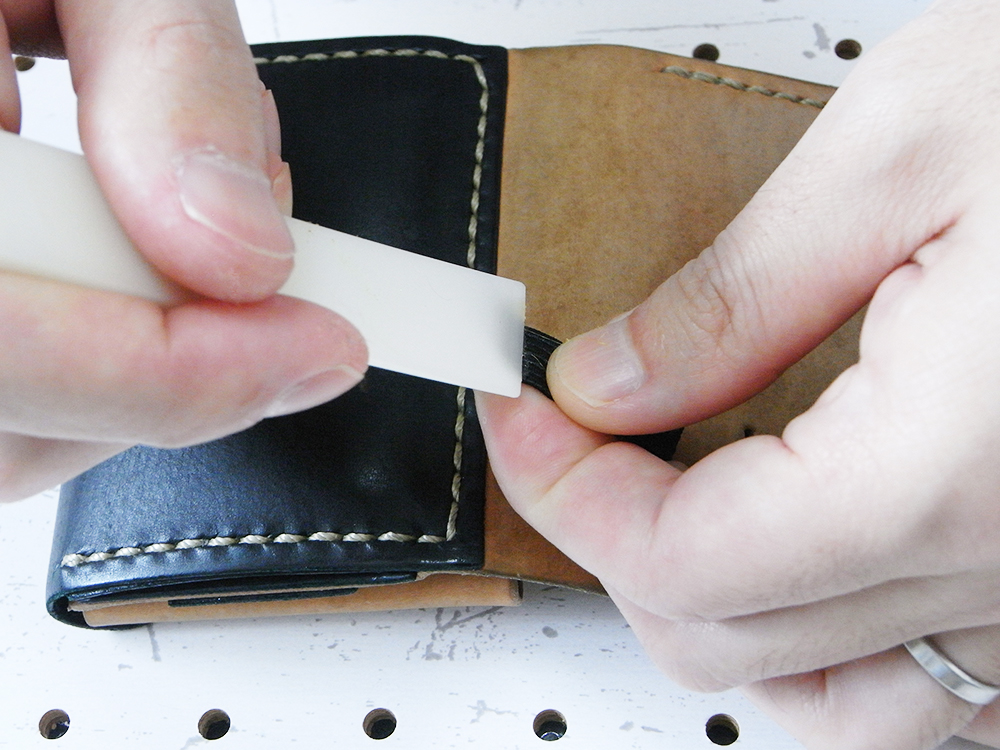
Crimp the adhesive parts together and form a loop without a twist. [Very Important!!]
Take the following notes:
- Paste a thin layer of the rubber glue.
- Ensure the ends of the flat rubber band are glued to form a loop without a twist.
- Crimp the adhesive parts together and form a loop without a twist.
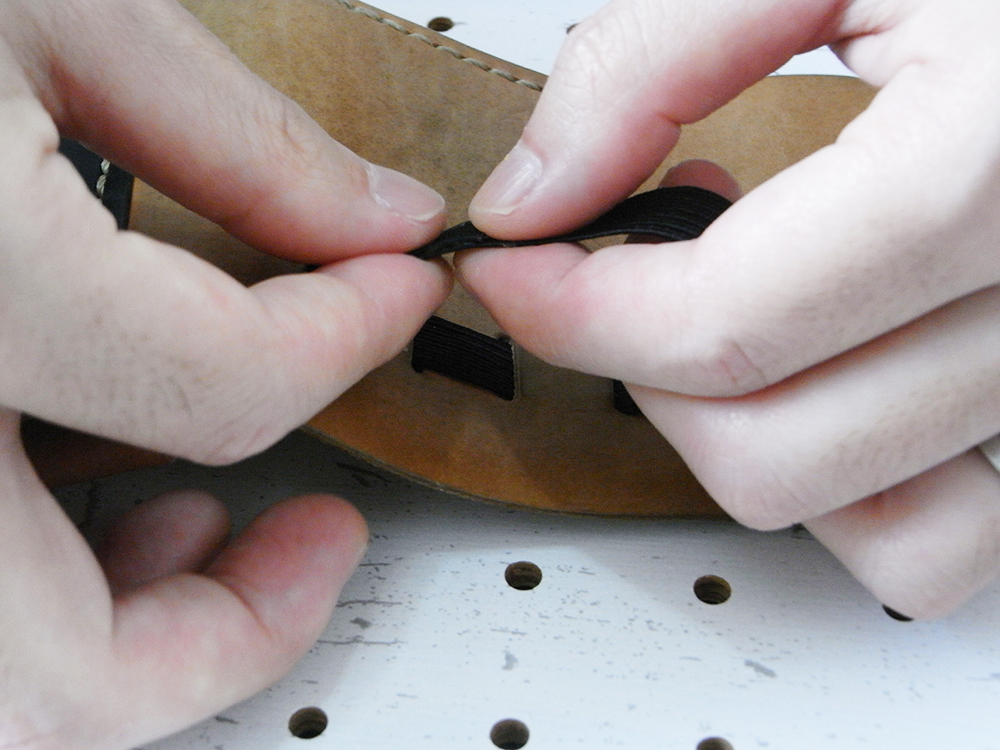
Crimp thoroughly after dump-dry the rubber glue. Dump-dry is the keyword! 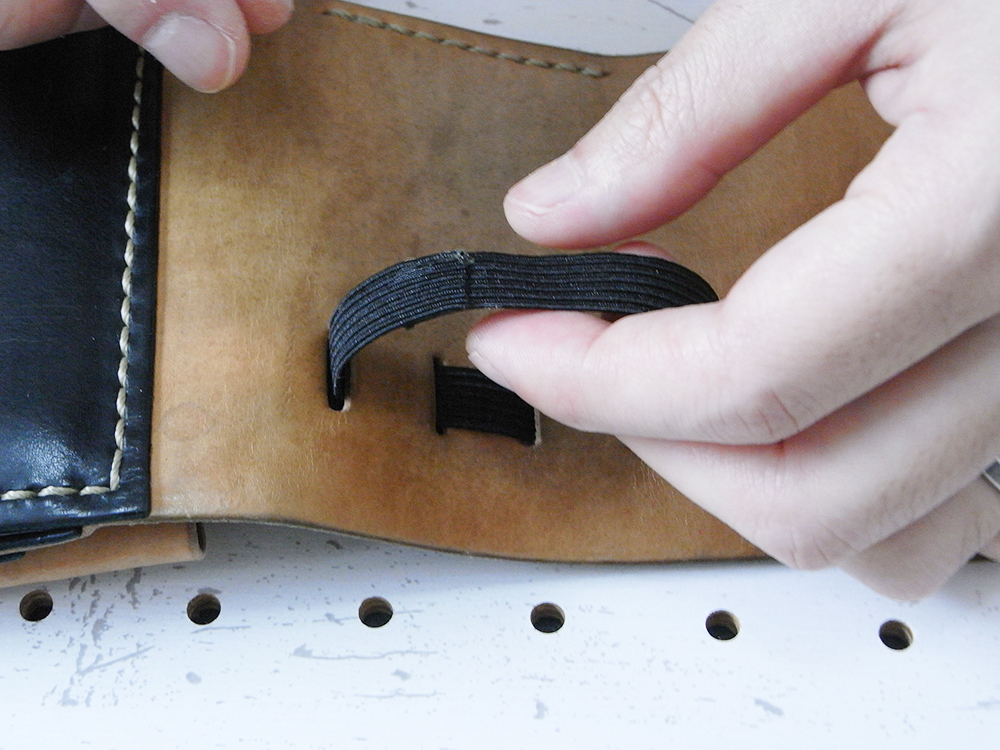
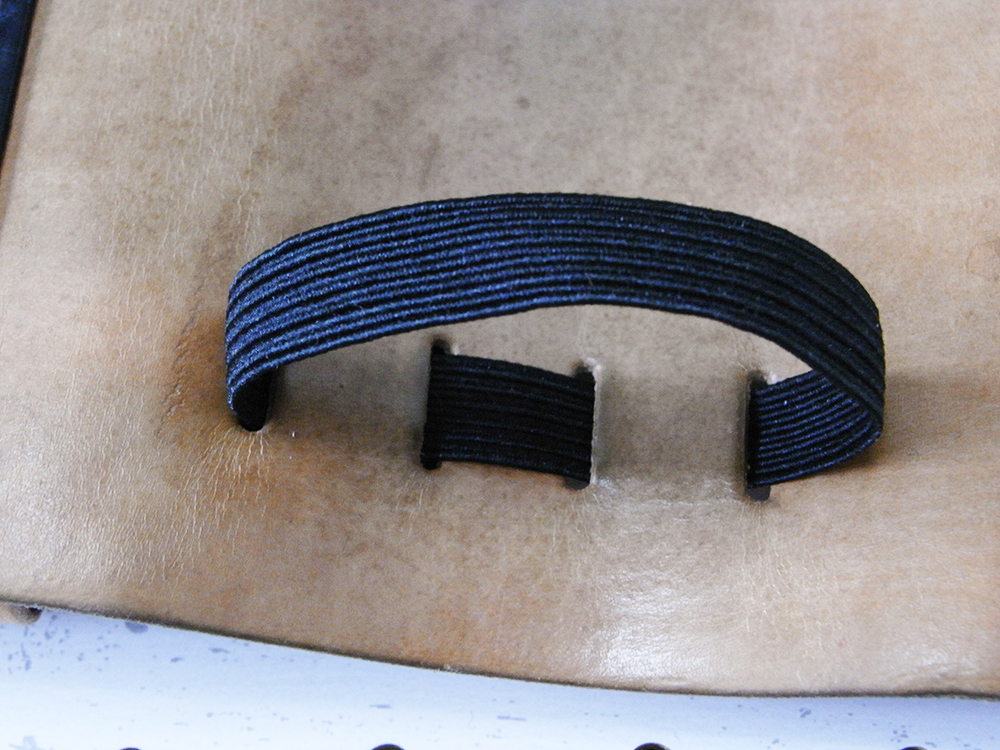
It is done if thoroughly crimped and dried. It is quite a strength.
Move the joint where invisible.
It is done!! 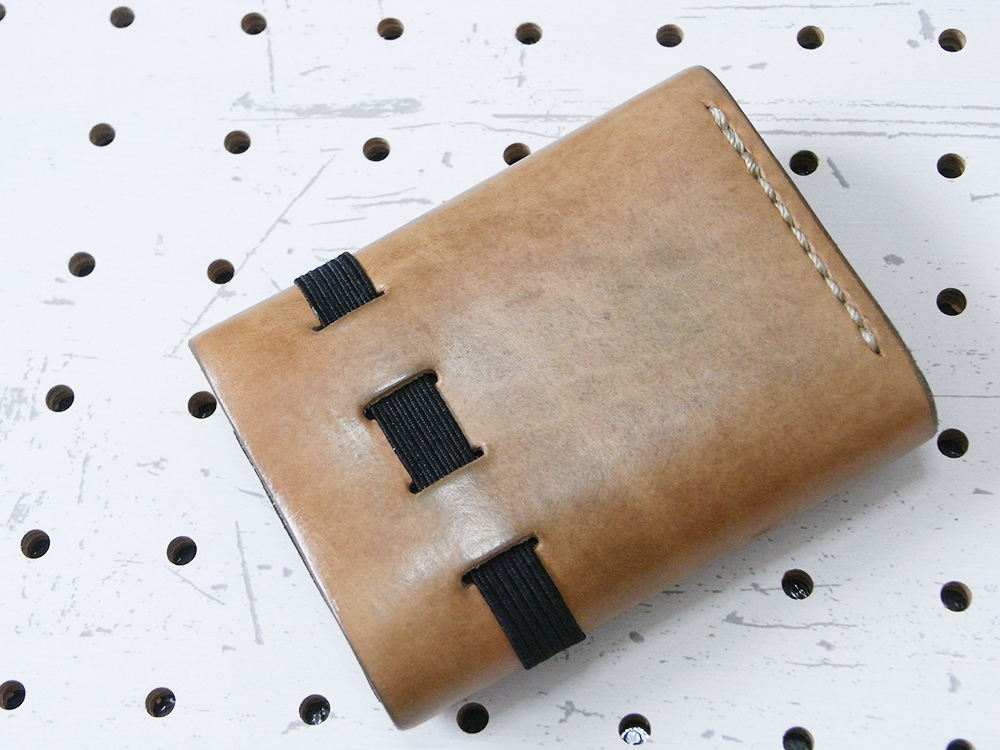
The rear side is perfectly done!
Here is the last point.
- Apply the rubber glue twice, damp-dry then crimp thoroughly.
- Cover the joint where invisible.
- After crimping, leave it at least 2 hours before use.
Over all, the approximate time for this work is about ten minutes or so.
This is easier than you think, so give it a shot and repair at ease.